
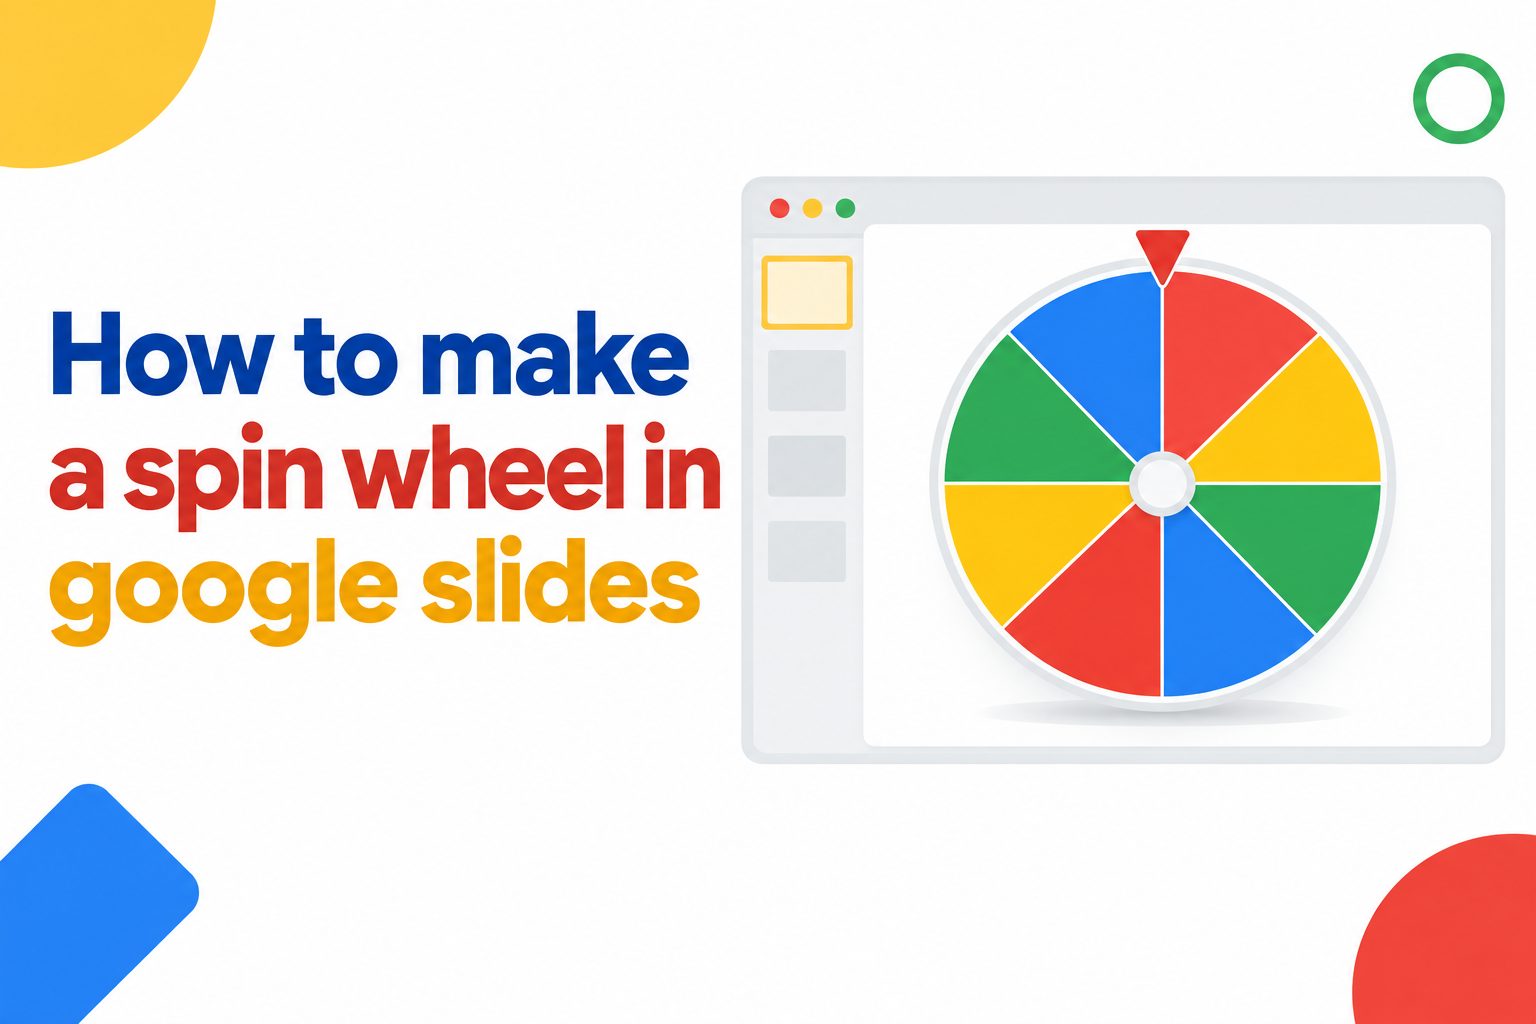
If you are learning how to make a spin wheel in google slides, you are about to discover a fun and simple way to make your presentations more interactive and exciting. A spin wheel adds surprise, energy, and participation to any lesson, meeting, or game, and you can build one right inside Google Slides without expensive software. In this guide, you will learn what a spin wheel is, why it works so well, how to create one step by step, and how to design, animate, and use it like a pro.
You will also find creative examples, classroom and business use cases, common mistakes to avoid, best practices, advanced tips, and answers to frequently asked questions. Whether you are a teacher, trainer, student, or presenter, this complete walkthrough will help you build a colorful and functional wheel that keeps your audience engaged from start to finish.
Why Spin Wheel Slides Boost Engagement
A spin wheel in Google Slides instantly changes the mood of a presentation from passive watching to active participation. People naturally pay more attention when there is chance, choice, and visual movement involved.
It works because it taps into curiosity and anticipation. The audience wonders where the wheel will stop, which makes even simple questions or routine decisions feel exciting and memorable.
For teachers, this means better focus and more volunteers. For business trainers and team leaders, it means livelier meetings, fairer turn-taking, and less boredom during reviews or brainstorming sessions.
Another reason it is powerful is flexibility. You can use the same basic wheel design for quizzes, prize draws, name pickers, topic selectors, warm-ups, icebreakers, and group activities without rebuilding your slides every time.
The best part is that you do not need coding skills. With shapes, text boxes, colors, and simple animations, you can create a convincing spin effect that feels playful while still looking clean and professional.
How Spin Wheel In Google Slides Works
A spin wheel in Google Slides is not a true coded spinner. It is a clever visual built from shapes, colors, and spin animations that creates the feeling of randomness and motion during a presentation.
1. Circle Divided Into Color Segments
The foundation of the wheel is a large circle divided into equal colored slices that represent choices, names, questions, points, or prizes. Each segment is made from pie shapes, arcs, or triangles arranged around a center point to form a complete wheel. Clear colors and readable labels help the audience quickly see all options before the spin begins in class or meetings.
2. Center Pointer And Labels
Every effective wheel needs a fixed pointer at the top or side plus clear text labels inside each segment. The pointer shows the winning section when the spinning stops, while labels tell viewers exactly what each color means. You can use student names, numbers, topics, actions, or rewards, and keeping the text short and centered makes the wheel easier to read from a distance.
3. Spin Animation Effect
Google Slides does not have a real random spin button, so the spin effect comes from the Spin emphasis animation applied to the grouped wheel. When you click during the slideshow, the wheel rotates quickly and then stops, creating excitement and anticipation. You can adjust duration and direction to make the movement feel faster, smoother, or more dramatic for games and classroom activities.
4. Randomness Through Presenter Control
Since Google Slides cannot generate true random results like a dedicated spinner app, randomness is created by timing, repetition, and presenter interaction. You can spin multiple times, ask a student to say stop, vary the spin duration, or duplicate wheels with different orders. This simple approach feels fair and spontaneous while keeping you in full control of pacing, fairness, and classroom management.
5. Multiple Slides For Different Outcomes
Many presenters create several copies of the wheel slide with the wheel rotated to different final positions. By linking them or moving through them quickly, it looks like the wheel lands on different choices each time. This method is especially useful for planned lessons, quizzes, or prize reveals where you want variety while still keeping the activity organized, visual, and easy to advance with one click.
6. Interactive Presentation Mode
In presentation mode, the wheel becomes a shared focal point that everyone watches together. You click to spin, pause for reactions, discuss the result, then move to the next question or participant. This simple interaction breaks up long presentations, encourages speaking and listening, and turns ordinary slides into a lively experience that works well both in person and during virtual lessons on video calls.
Build Spin Wheel In Google Slides Step By Step
Follow these practical steps to build a colorful and functional spin wheel from scratch. You only need basic shapes, text tools, and animations.
- Open A Blank Slide: Start with a blank layout, set a clean background, and leave plenty of space in the center for a large wheel that everyone can see clearly.
- Insert A Large Circle: Add a circle shape from the menu, hold shift while drawing for perfect roundness, and place it in the middle of the slide.
- Create Color Segments: Use pie or arc shapes to divide the circle into six or eight equal slices, then fill each slice with a bright contrasting color.
- Add Text Labels: Insert text boxes on each segment for names, numbers, or topics, rotate them to follow the wheel, and use bold readable fonts.
- Add Center Hub And Pointer: Place a small circle in the middle and a triangle pointer at the top to show the winning segment clearly.
- Group The Wheel Parts: Select all wheel slices and labels together, right click, and group them so the whole wheel spins as one object.
- Apply Spin Animation: Add a spin emphasis animation to the grouped wheel, set it to start on click, and choose a two to three second duration.
- Test And Duplicate Slides: Enter slideshow mode to test the spin, then duplicate the slide with different rotations for varied results and smoother games.
Creative Spin Wheel Design Ideas For Slides
Good design makes your wheel easier to read, more attractive, and more fun to use. These ideas will help you match the wheel to your audience and topic.
1. Bright Classroom Quiz Wheel
A bright quiz wheel uses six to eight bold colors like red, blue, green, yellow, purple, and orange with large question numbers in each slice. This design is perfect for review games because students can see options from the back of the room. Add stars or icons in the center, keep fonts simple, and use high contrast text so the wheel looks cheerful, clear, and motivating during fast-paced classroom competitions and team challenges.
2. Minimal Business Decision Wheel
A minimal business wheel uses soft blues, grays, and whites with clean sans serif labels for topics, team names, or discussion prompts. This style looks professional in meetings and avoids childish colors while still adding interactivity. Keep segments limited to five or six choices, use plenty of white space around the wheel, and add your company color as an accent for a polished and trustworthy visual appearance.
3. Prize And Reward Wheel
A prize wheel features exciting labels like extra points, sticker, homework pass, candy, choose a game, or small gift. Use gold, pink, teal, and purple to create a festive feeling that builds anticipation. Place a large pointer at the top, add confetti shapes around the slide, and keep one jackpot slice slightly different to increase excitement while making sure all rewards are realistic and easy for you to deliver.
4. Name Picker Wheel
A name picker wheel lists student or team member names instead of topics, making turn-taking fair and transparent. Use alternating light and dark backgrounds so each name stands out clearly, and keep text horizontal where possible for readability. This design reduces complaints about favoritism, encourages shy participants to join, and works perfectly for reading order, presentation order, group leaders, and daily classroom jobs or meeting roles.
5. Subject Vocabulary Wheel
A vocabulary wheel puts a different word, picture prompt, or definition task in each segment for language, science, or history lessons. Students spin, then define the word, use it in a sentence, draw it, or answer a related question. Use themed colors and simple icons for each subject, and keep words short so they fit neatly. This turns repetition into play and helps learners remember terms much more effectively.
6. Seasonal And Themed Wheel
A seasonal wheel matches holidays, seasons, or event themes with appropriate colors and decorations for extra fun. Think red and green for winter review, pastel colors for spring vocabulary, or orange and black for a fall party game. Add small themed shapes around the edges without covering the text. Themed designs capture attention quickly and make routine lessons feel special, timely, and more memorable for all participants.
Benefits Of Interactive Spin Wheel Slides
Adding a spin wheel to your slides brings real learning and presentation benefits beyond just looking fun and colorful.
- Increases Participation: People volunteer more often when selection feels like a game instead of direct questioning.
- Makes Learning Memorable: Visual motion and surprise help students remember questions, answers, and key ideas longer.
- Saves Preparation Time: One reusable wheel template can support many lessons, quizzes, and activities with small edits.
- Supports Fair Selection: Random-style spins make choosing names, teams, or topics feel transparent and unbiased.
- Energizes Virtual Meetings: Movement and interaction reduce screen fatigue and keep online audiences focused and alert.
- Encourages Positive Mood: Playful spins lower stress, build laughter, and create a friendly classroom or team culture.
Practical Spin Wheel In Google Slides Use Cases
A spin wheel is flexible enough for schools, offices, parties, and online events. These practical use cases show how to apply it in real situations.
1. Classroom Review Games
Teachers can place review questions, math problems, or science facts on the wheel and let teams spin to choose their challenge. Each spin creates excitement before learning, and students stay focused because they do not know which topic will appear next. You can assign points by color, add bonus slices, and rotate teams fairly, turning boring test preparation into an active and collaborative classroom game everyone enjoys.
2. Random Student Selector
Instead of calling on raised hands, spin a name wheel to choose who answers, reads aloud, or presents next. This keeps all students alert because anyone could be selected, and it feels more playful than traditional cold calling. It also helps quiet learners participate without pressure, promotes equal opportunity, and saves the teacher from difficult decisions about turn order during busy lessons and fast-moving discussions.
3. Team Meeting Icebreakers
Meeting leaders can use a wheel with fun prompts like share a weekend highlight, recommend a book, describe your work in three words, or pick a gratitude moment. Spinning breaks awkward silence at the start, helps new team members speak early, and builds connection without taking much time. It is especially helpful for remote teams who need quick energy and human interaction before diving into serious agendas and updates.
4. Training And Workshop Activities
Trainers can load the wheel with scenarios, case studies, role plays, or discussion questions to keep workshops dynamic. Participants spin to receive their task, which adds variety and prevents predictable sequences. This method encourages problem solving, group discussion, and practical application of new skills. It also helps facilitators manage time while covering many topics in an engaging and participant-centered way.
5. Prize Draws And Giveaways
For school events, webinars, or office parties, a prize wheel makes giveaways transparent and thrilling. Add attendee names or prize types to the segments, spin live on screen, and let everyone watch the result together. The visual spin builds suspense much better than simply reading a name. Just make sure rules are clear, prizes are ready, and every spin is visible to maintain trust and excitement.
6. Content And Choice Boards
Content creators and teachers can use a wheel to choose writing prompts, art challenges, workout moves, or daily tasks. This removes decision fatigue and adds spontaneity to routines. For example, students spin for a journal topic, or followers spin for a challenge of the day. The element of surprise keeps habits fresh, encourages creativity, and motivates people to try options they might otherwise skip or overlook completely.
Examples Of Spin Wheel In Google Slides
Seeing concrete examples makes it easier to design your own wheel. Adapt these ideas to fit your subject, audience, and presentation goal.
1. Math Facts Practice Wheel
A math wheel might include slices labeled multiplication by 3, division, fractions, word problem, double points, and spin again. Students spin, solve the matching problem on the board, and earn team points for correct answers. The mix of easy and challenging slices keeps tension high, while the spin again option adds humor. It is ideal for third to sixth grade review and mental math warm-ups.
2. Vocabulary Challenge Wheel
A vocabulary wheel can list six new words with tasks like define it, act it out, draw it, use it in a sentence, give a synonym, or give an antonym. Learners spin and complete the task for the selected word, which reinforces meaning through multiple modes. This example works beautifully for English lessons, test prep, and bilingual classrooms where repetition needs to stay lively, visual, and highly interactive for all levels.
3. Morning Meeting Wheel
A morning meeting wheel for elementary classes might include greeting a neighbor, sharing news, mood check, joke of the day, class goal, and question box. Each morning, a different student spins to start the day with connection and structure. This routine builds community, improves speaking confidence, and gives teachers quick insight into student feelings while keeping mornings predictable yet playful and welcoming for young learners.
4. Sales Team Motivation Wheel
A sales team wheel could feature call a new lead, share a win, practice objection handling, product quiz, peer shout-out, and small reward. During weekly huddles, team members spin to pick an activity that builds skills and morale at the same time. It prevents meetings from becoming repetitive status updates and adds friendly competition. The visual format also works well when screen sharing during remote sales standups and coaching sessions.
5. Party Game Wheel
A party wheel might include dance challenge, trivia question, sing a line, do an impression, team charades, and win a treat. Guests take turns spinning during birthdays, class parties, or virtual celebrations. The randomness keeps laughter going and ensures everyone gets involved without complicated rules. Bright colors, large fonts, and funny icons make the slide feel festive, and you can easily customize prompts for different ages and occasions.
6. Fitness Choice Wheel
A fitness wheel can list jumping jacks, stretch break, push-ups, deep breathing, walk and talk, and water break for classroom brain breaks or office wellness sessions. Participants spin every hour to choose a quick movement that refreshes focus. This example shows how a spin wheel supports health, not just academics. Short active pauses improve circulation, reduce restlessness, and help people return to work feeling recharged and ready.
Advanced Spin Wheel Tips For Google Slides
Once you know the basics, these advanced tips will make your wheel smoother, more realistic, and more impressive for your audience.
1. Layer Multiple Spin Animations
You can make the spin feel more natural by duplicating the wheel and applying spins with different durations across linked slides. For example, start with a fast two-second spin, then move to a slower finishing slide where the pointer lands clearly. This layered sequence mimics deceleration and builds suspense. Practice your click timing so transitions look smooth and the final result stays visible long enough for discussion and celebration.
2. Use Transparent Pointer Overlay
Place the pointer on the slide master or as a top-layer shape that never moves while only the wheel group spins underneath. This creates a cleaner illusion because viewers see a stable marker and a moving wheel, just like a real spinner. Use a bold triangle with a shadow or outline, lock its position, and test from the back of the room or on small screens to ensure it always points accurately at the winning segment.
3. Link Slides For Random Outcomes
Create seven or eight copies of your wheel with different final angles, then add invisible shapes linked to each version on a menu slide. When someone chooses a number or says stop, click the matching invisible link to jump to that outcome. The audience perceives it as random, while you maintain variety. Label your links privately in the speaker notes so you can navigate quickly without showing your system.
4. Add Sound And Celebration Slides
While Google Slides has limited sound control, you can insert a drumroll audio cue before the spin and a cheering slide after the result. Add confetti shapes, big text like Winner or Great Job, and the selected answer with an explanation. This extra celebration makes the payoff stronger, especially for young learners and party settings. Keep audio short and optional so it enhances rather than distracts from learning goals.
5. Create Reusable Master Templates
Save your best wheel as a custom layout with placeholder text that you can quickly edit for new topics. Keep one six-slice version, one eight-slice version, and one name-picker version with neutral colors. When you need a new game, duplicate the template, change labels, and adjust colors in minutes. This system saves hours over a school year and keeps all your decks visually consistent and professional looking.
6. Optimize For Mobile And Virtual Sharing
Many viewers will see your wheel on phones or small laptop screens during video calls, so use large fonts, thick borders, and high contrast colors. Avoid tiny rotated text that becomes unreadable when compressed. Zoom in on the wheel during the spin when sharing online, and pause to read the result aloud. Testing your deck in presentation mode on a phone beforehand ensures everyone enjoys the same clear and exciting experience.
Common Spin Wheel In Google Slides Mistakes To Avoid
Small design and technical errors can make your wheel confusing or boring. Avoid these common problems to keep your activity smooth and professional.
1. Making Text Too Small To Read
One of the biggest mistakes is using tiny fonts that disappear when projected or shared online. If the audience cannot read the options, excitement drops quickly and you waste time explaining each slice. Always use at least twenty-four point bold text, keep labels short, and test readability from a distance. Clear text ensures everyone understands choices instantly and can fully enjoy the anticipation of the spin.
2. Using Too Many Segments
Crowding twelve or fourteen thin slices into one wheel makes labels cramped and the design overwhelming. Viewers struggle to follow the pointer, and spinning feels chaotic rather than fun. Stick to five to eight segments for best clarity, and split larger sets into multiple wheels or rounds. Fewer choices mean bigger text, bolder colors, and a much more satisfying reveal when the wheel finally stops moving.
3. Choosing Low Contrast Colors
Light yellow text on white, or dark blue on black, becomes invisible on projectors and mobile screens. Poor contrast hurts accessibility for viewers with vision difficulties and makes your slides look unprofessional. Always pair dark text with light backgrounds and white text with saturated colors. Check your wheel in slideshow mode and in a bright room to confirm every segment stands out sharply and clearly.
4. Forgetting To Group The Wheel
If you animate slices individually instead of grouping them, pieces will spin separately and the wheel will fall apart visually. This ruins the illusion and looks messy in front of an audience. Before adding animation, select every slice, label, and center piece that should rotate together, then group them into one object. Test the animation twice to confirm the whole wheel turns smoothly as a single unified circle.
5. Overcomplicating The Animation
Adding too many fly-ins, bounces, fades, and sounds at once can distract from the main spin and cause timing delays. The audience should focus on the wheel, not on flashing effects. Keep one clear spin animation, one pointer, and one result reveal. Simple motion feels more professional, loads faster on slow devices, and is much easier for you to control confidently during live teaching or presenting.
6. Not Testing Before Presenting
Skipping a practice run often leads to broken links, misaligned pointers, or animations that do not trigger on click. Technical glitches kill momentum and confidence, especially with large groups waiting. Always run through the full slideshow, test each spin, check speaker notes, and verify screen sharing settings for virtual calls. A five-minute rehearsal ensures your fun activity runs smoothly and leaves a positive impression.
Best Practices For Spin Wheel In Google Slides
Follow these proven practices to make your spin wheel attractive, fair, easy to use, and effective for learning or engagement.
1. Keep Labels Short And Clear
Use two to three words per segment so text stays large and readable even on small screens. Short labels like Quiz Five, Team A, Bonus Points, or New Topic are instantly understood without explanation. Avoid long sentences that force you to shrink fonts or wrap lines awkwardly. Clear wording reduces confusion, speeds up gameplay, and helps participants focus on thinking and responding rather than decoding crowded wheel text.
2. Use Consistent Brand Colors
Choose a palette of five to six harmonious colors and reuse them across all your wheels for a cohesive look. Consistent colors help regular students or team members recognize your activities quickly and feel a sense of familiarity. For business decks, match brand guidelines, and for classrooms, pick cheerful but not neon tones. A limited palette looks cleaner, prints better, and is easier on the eyes during long sessions.
3. Set Clear Rules Before Spinning
Explain how many spins each person gets, what each result means, how points are scored, and what happens on a repeat. Display rules on the slide before the wheel or in speaker notes so everyone knows what to expect. Clear structure prevents arguments, keeps energy positive, and ensures the game supports your learning goal instead of turning into confusion. Fair rules also build trust, especially when prizes or grades are involved.
4. Combine Wheel With Discussion Time
Do not rush past the result the moment the wheel stops. Pause, read the outcome aloud, invite reactions, and ask follow-up questions that deepen understanding. For example, after landing on a quiz topic, let teams discuss for thirty seconds before answering. This reflection turns a quick game moment into meaningful learning. Intentional pauses also give you time to manage transitions and keep the pace comfortable for everyone.
5. Save Editable Backup Copies
Always keep an unanimated master copy of your wheel where slices and text remain ungrouped and easy to edit. Animations and grouping make quick text changes difficult, so a backup saves time when you need to swap names or topics. Store templates in a dedicated folder with clear file names by subject and date. Organized backups let you reuse successful designs all year without rebuilding from scratch each time.
6. Make The Activity Accessible
Design for all learners by using high contrast, large fonts, simple language, and verbal narration of results. Avoid relying only on color to convey meaning by adding numbers or icons to each segment. Read the winning slice aloud for virtual attendees and those with visual difficulties. Accessible design ensures everyone can participate fully, feel included, and enjoy the excitement without barriers or misunderstandings during the activity.
Frequently Asked Questions
Can You Make A Real Random Spin Wheel In Google Slides
You can create a convincing visual spin effect, but not true randomness inside Google Slides alone. The wheel uses spin animations and presenter timing to feel random. For fully random results, combine Slides with an external spinner or use multiple pre-rotated slides. Most classrooms find the animation method fair and fun enough for daily games and selection activities.
How Do You Add A Spin Animation To The Wheel
Select your grouped wheel, open the animation panel, add an emphasis effect, and choose Spin. Set it to start on click with a duration of two to three seconds. In slideshow mode, click once to spin the wheel smoothly. Grouping all slices before animating is essential, otherwise individual pieces will move separately and break the illusion of a single spinning wheel.
How Many Sections Should A Spin Wheel Have
Five to eight sections work best for readability and balance. Fewer than five can feel limited, while more than eight makes text small and crowded. Six sections are ideal for most quizzes, name pickers, and prize wheels. If you have many options, create two wheels or run multiple rounds. This keeps fonts large, colors distinct, and results easy to see.
Can Students Spin The Wheel On Their Own Devices
Students cannot directly click to spin during your presentation unless you give them editing access or share control in a video call. The simplest workaround is to let a student say when to click or stop, or assign remote control in your meeting app. For independent play, make a copy for each student or link to an online spinner alternative.
How Do You Make The Wheel Land On Different Results
Duplicate your wheel slide several times and manually rotate the grouped wheel to different positions on each copy. During the show, advance through these variations or use invisible linked shapes to jump to a specific outcome. This creates variety without coding. Keep a private note of which slide lands where so you can navigate smoothly and keep the game feeling spontaneous.
Is A Google Slides Spin Wheel Free To Create
Yes, building a spin wheel with shapes, text, and animations in Google Slides is completely free with a Google account. You do not need paid add-ons or design software. Optional extras like stock icons or audio may cost money, but they are not required. With built-in tools alone, you can make colorful, interactive wheels for teaching, meetings, and parties.
Conclusion
Learning how to make a spin wheel in google slides gives you a simple yet powerful way to boost fun, fairness, and focus in any presentation. With basic shapes, clear labels, and a spin animation, you can turn routine lessons and meetings into interactive experiences people remember.
Start with a simple six-section template, test it with your audience, then refine colors, rules, and variations over time. Keep it clear, keep it fair, and enjoy the energy a good spin brings to your next slide deck.